CREATE A “LITTLE PLANET” PANORAMA EFFECT WITH PANOVOLO
Crafting “Little Planet” panoramas with PANOVOLO
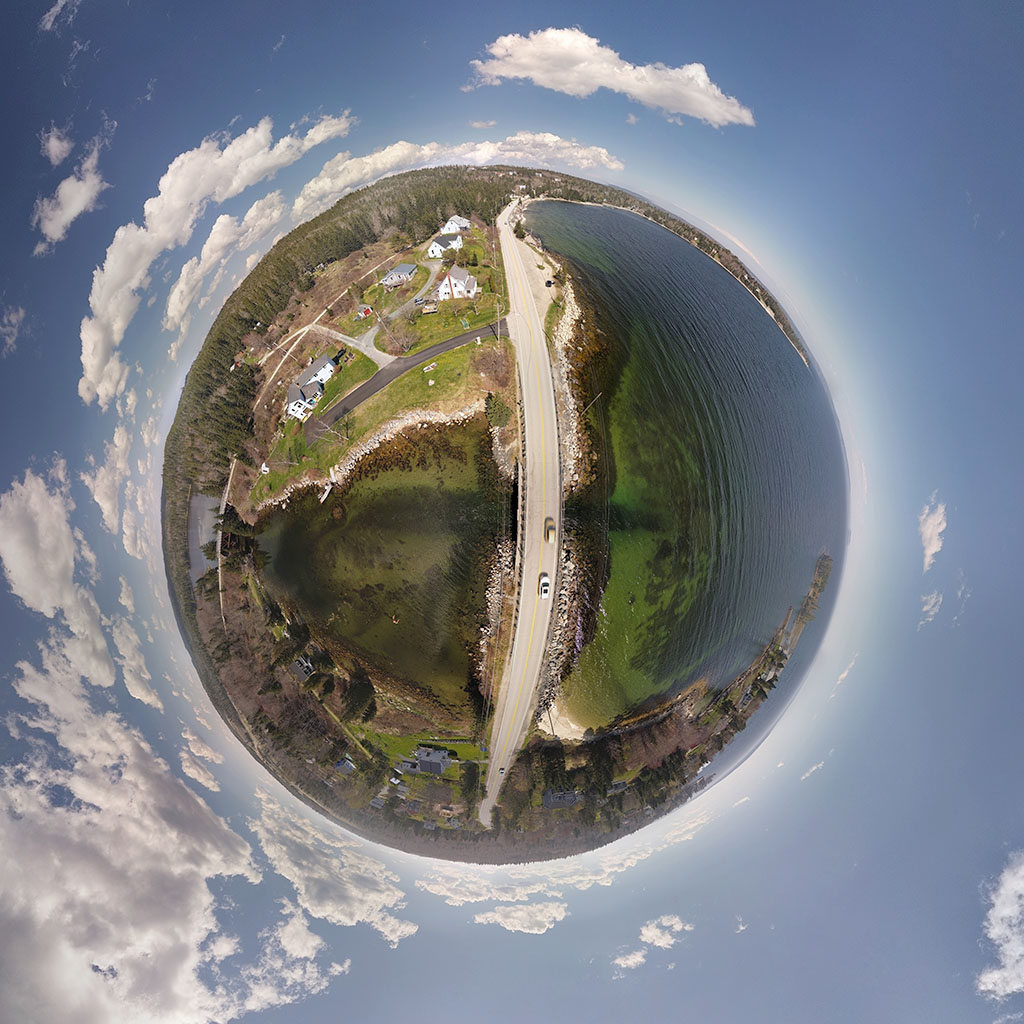
The “Little Planet” effect transforms familiar scenes into captivating, globe-like panoramic images. PANOVOLO simplifies the process of creating these unique panoramas. Here’s a straightforward guide to help you get started.
Choosing the Right Panorama Type for Your Drone
Automatic Shooting: If your drone has an automatic panorama feature, set it to “Sphere” for comprehensive coverage.
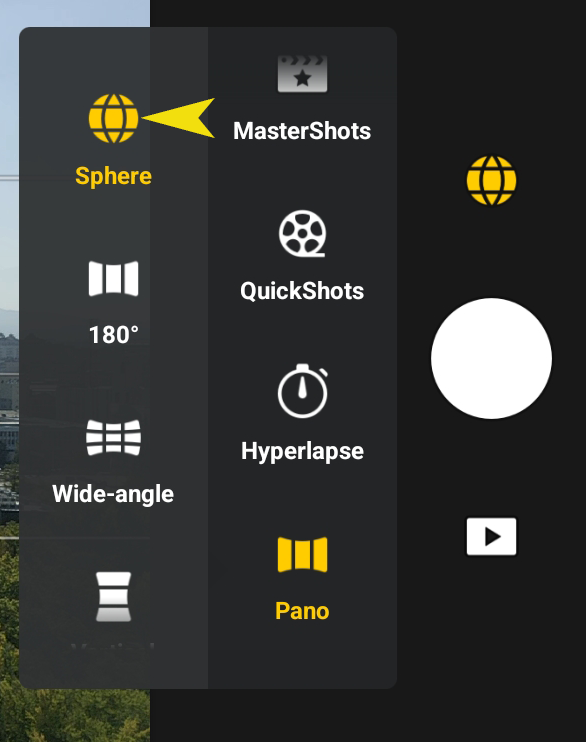
Manual Shooting: For manual captures, ensure you take enough images to form a complete spherical panorama.
Image Quality: Exposure and White Balance
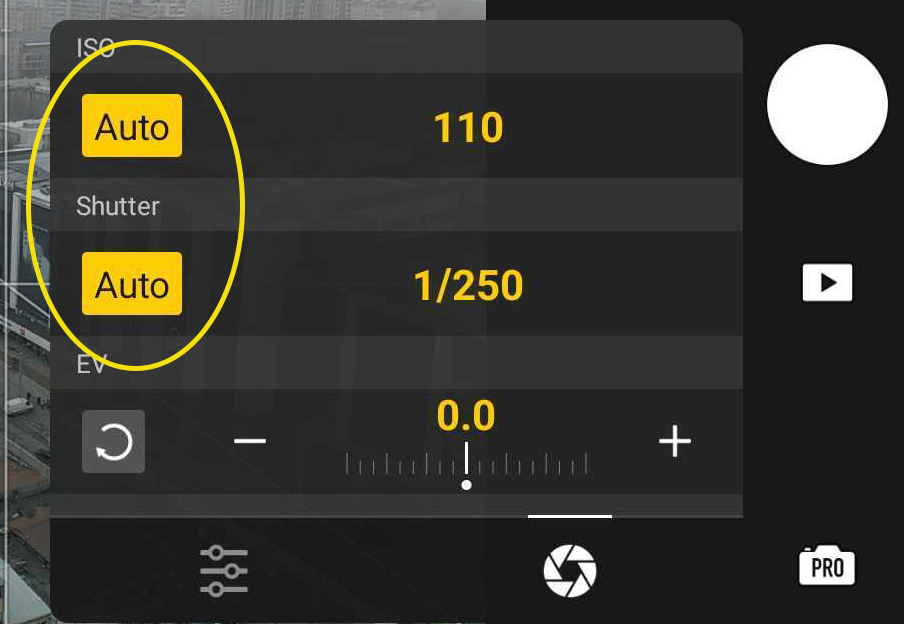
Consistent Exposure: Strive for well-exposed shots throughout. Automatic exposure settings on your drone are generally sufficient.
White Balance: Manual white balance is preferable for color consistency. A setting between 5300-5500K usually works well.

Composition Tips
Scene Awareness: Remember, your drone captures everything around it. Keep unwanted elements out of your panorama.
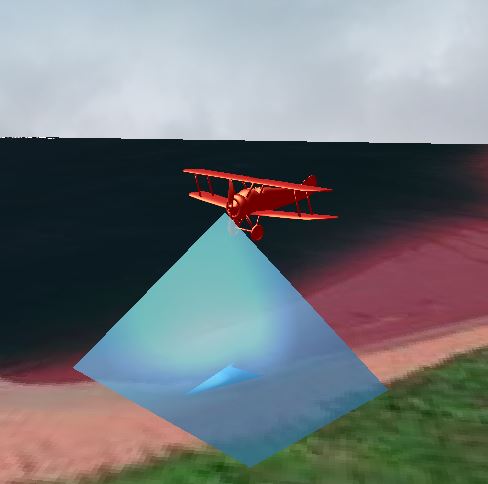
Nadir Focus: The nadir shot, or the image taken directly downwards, becomes a focal point in “Little Planet” panoramas. Choose an interesting subject for this shot.
Setting Up PANOVOLO for the “Little Planet” Effect
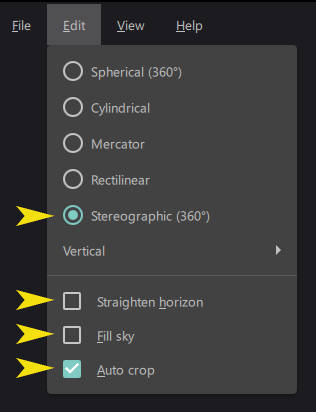
Projection Choice: Go to Edit/Stereographic in PANOVOLO to select the appropriate projection for the “Little Planet” effect.
Auto Cropping: Enable the Edit/Auto Crop feature for optimal framing of your panorama.
Image Format: PANOVOLO allows you to stitch panoramas from either DNG or JPEG images. Your choice depends on your preference for image quality and processing time. For more information, refer to our separate guide on choosing between DNG or JPEG images.
Wrapping Up
Creating a “Little Planet” effect with PANOVOLO is a straightforward process. Once you’ve captured a full spherical panorama with your drone, simply select the “Stereographic” projection in PANOVOLO. The software efficiently handles the rest, transforming your images into a mesmerizing “Little Planet” panorama.
