HOW TO STITCH AND DISPLAY 360 DEGREE PANORAMAS
Creating immersive fully spherical panoramas with PANOVOLO
Fully spherical, 360 degree panoramas, commonly known as “photo spheres,” offer an unparalleled 360-degree horizontal and 180-degree vertical field of view. These captivating images can be displayed in interactive viewers, Virtual Reality (VR) systems, and digital maps, providing an immersive experience for the viewer. Here’s how to create these stunning panoramas using PANOVOLO.
Drone Settings for Capturing Photospheres
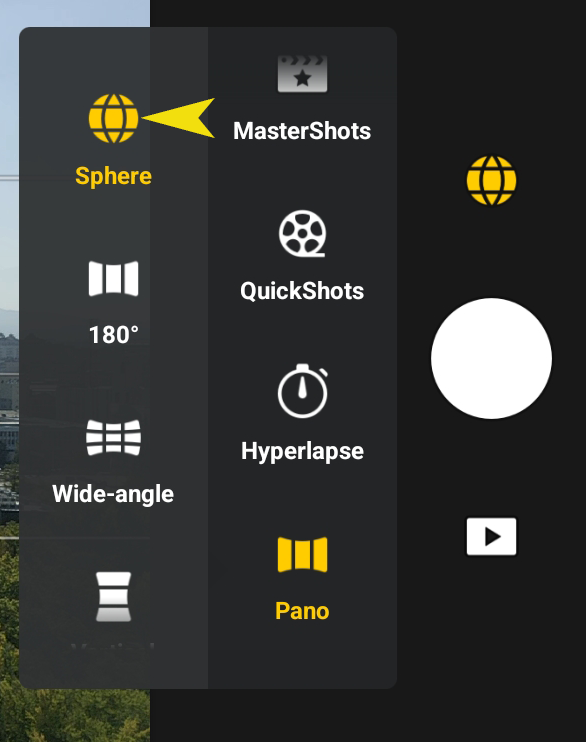
Panorama Type: If you plan to use automatic panorama shooting built into your drone, choose “Sphere” as your panorama type.

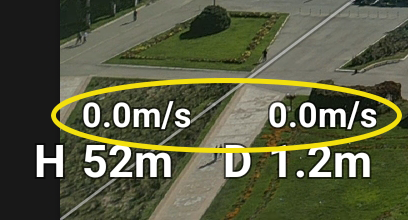
Static Subjects: Ensure your drone is hovering stably and your subject remains stationary. Photo spheres require a high degree of image matching, and moving subjects (such as large ocean waves) can disrupt the stitching algorithm.

Exposure and White Balance: Aim for well-exposed images. While manual white balance is recommended (5300-5500K is a good default), you can opt for automatic exposure settings on your drone.

Be Aware of Surroundings: The drone captures the entire scene in all directions. Make sure there are no unwanted elements in the frame.
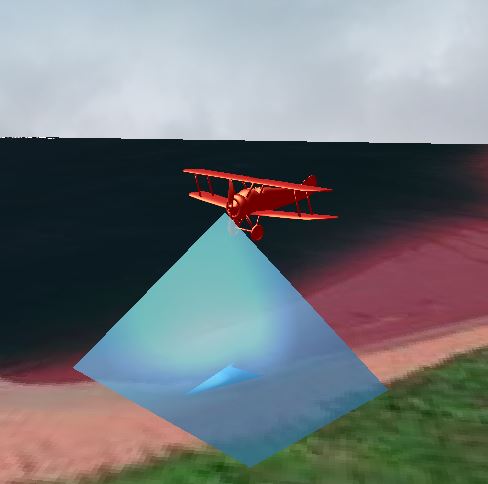
Nadir Shot: The drone will take a shot facing directly downward, known as a “nadir” shot. Frame an interesting subject for this particular image.

Configuring PANOVOLO

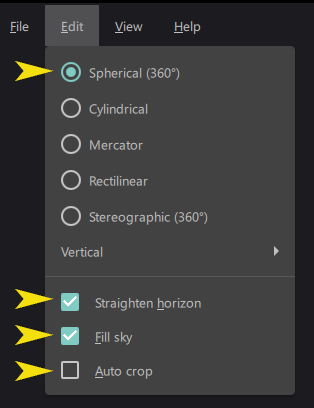
Projection Type: Select Edit/Spherical for your panorama projection type. This is the only setting capable of stitching fully spherical panoramas.
Straighten Horizon: Turn the Edit/Straighten horizon option ON to ensure a level panorama.
Fill Sky: Set the Edit/Fill sky option to ON to fill the gap in the zenith that many drones leave in 360 degree panoramas.
Auto Crop: Set the Edit/Auto crop option to OFF to maintain the full image.
Image Format: PANOVOLO allows you to stitch photo spheres from either DNG or JPEG images. To decide on which format to choose, refer to our separate guide on DNG vs JPEG images.
Displaying Your Photo Spheres
Once your photo sphere is stitched and optionally post-processed, you have multiple options for sharing it:
Built-in viewer: PANOVOLO incorporates an interactive photo sphere viewer. After stitching a fully spherical panorama, select View/3D sphere to display your panorama in this viewer, or click on the “3D sphere” icon in the status bar. You can rotate the sphere or change zoom to explore your panorama interactively.

Social Media: Most platforms have built-in photo sphere viewers. Simply upload your image, and it will become an interactive sphere.
Photo-Sharing Services: These platforms will automatically recognize and display your photo spheres interactively.
Maps: Most mapping services will allow you to add your panorama for the specific location. If your panorama image is recognized as a photo sphere, it will be displayed in the interactive viewer.
Website Embedding: If you’re using WordPress or similar website builders, search for “photo sphere” plugins to display your panoramas.
Custom Libraries: For more flexibility, custom libraries are available in multiple programming languages to render photo spheres. This option may require some coding skills.
In Summary
PANOVOLO provides a seamless experience for stitching fully spherical panoramas. These panoramas come with all the necessary metadata and are ready for interactive display across various platforms, including social media, VR systems, and digital maps. Choose the settings that best suit your needs and start capturing the world in 360 degrees.
